
Roofing work is a staged process that begins before any shingles are removed. A typical project includes inspection, planning, material delivery, removal of worn roofing, repair of the roof deck, installation of protective layers, placement of the new roof covering, and final cleanup.
Understanding these steps helps homeowners recognize what is normal, what deserves closer attention, and why weather conditions can affect the schedule.
What happens before roofing work begins?
The first step is an evaluation of the roof and the building beneath it. A roof may look acceptable from the ground while still having concealed problems around valleys, chimneys, skylights, eaves, or roof penetrations.
An inspection commonly considers:
- The age and type of the existing roof
- Missing, cracked, curled, or loose shingles
- Granule loss and exposed underlayment
- Soft areas in the roof deck
- Water staining in attic spaces or upper ceilings
- Condition of flashing around joints and penetrations
- Attic ventilation and signs of condensation
- Drainage patterns around eaves and valleys
In Gansevoort, winter snow, ice, wind, and repeated freeze-thaw cycles can place added stress on roofing materials. Ice buildup near eaves may allow water to move beneath shingles, while heavy snow can expose weak areas that were not obvious during warmer weather.
A written scope of work should identify whether the project involves a repair, partial replacement, or complete replacement. It should also explain how damaged decking, flashing, ventilation components, and disposal will be handled.
How is the roofing project planned?
Planning determines the materials, sequence, access requirements, and weather window. Roofing materials should be stored where they will remain dry and stable, and the work area should be arranged to protect landscaping, walkways, siding, windows, and outdoor equipment.
The roof’s design matters as much as its surface area. A simple roof with broad slopes may be relatively straightforward, while a roof with multiple valleys, dormers, intersecting sections, or low-slope areas requires more detailed planning.
The planning stage may also address:
- Whether existing roofing layers can remain or must be removed
- Where replacement materials will be staged
- How attic ventilation will be maintained or improved
- How roof penetrations will be sealed
- How rain, wind, or cold temperatures could affect installation
- Local building-code requirements and inspection procedures
Cold weather deserves special consideration in the Northeast. Some roofing materials need suitable temperatures to seal properly, and snow or wet surfaces create serious fall hazards. Work may be delayed when conditions prevent safe installation or reliable adhesion.
What happens during roof removal?
Removal begins with protecting the property and creating a controlled work area. Existing shingles, underlayment, flashing, and other deteriorated materials are taken off in sections so the roof deck can be examined.
The roof deck is the structural surface beneath the underlayment and shingles. It is commonly made from plywood or oriented strand board. Once exposed, it may reveal:
- Rot caused by long-term moisture
- Dark staining or mold-like growth associated with damp conditions
- Soft or spongy sections
- Fastener damage
- Gaps, broken panels, or inadequate support
Not every dark mark indicates active structural damage, but soft wood and recurring moisture require attention. Installing new shingles over a compromised deck can leave the underlying problem unresolved.
Removal also provides an opportunity to inspect flashing. Flashing is sheet material placed around chimneys, walls, valleys, vents, and other transitions. Its purpose is to direct water away from vulnerable joints. Damaged or poorly installed flashing is a common source of leaks.
How is the roof deck repaired?
Any damaged decking should be repaired before the protective roofing layers are installed. Small repairs may involve replacing individual sections, while widespread deterioration can indicate a longer-term ventilation or drainage problem.
The replacement deck panels must be properly supported, fastened, and aligned. Gaps and uneven transitions can affect the appearance and performance of the finished roof.
This stage is also when underlying causes should be considered. A leak near an interior ceiling stain may have started much higher on the roof and traveled along framing before becoming visible. Similarly, wet decking near an eave may result from ice-related backup, blocked drainage, inadequate ventilation, or a damaged roof edge.
What protective layers go beneath the shingles?
A roof covering is only one part of the roofing system. Underlying layers help manage water that gets beneath the shingles and protect the deck during installation and severe weather.
A typical system may include:
- Drip edge along roof edges to guide water away from the deck and fascia
- Underlayment over the roof deck
- Additional water-resistant membrane near eaves, valleys, and other vulnerable areas
- Flashing around walls, chimneys, vents, and roof openings
- Ventilation components that allow warm, moist attic air to escape
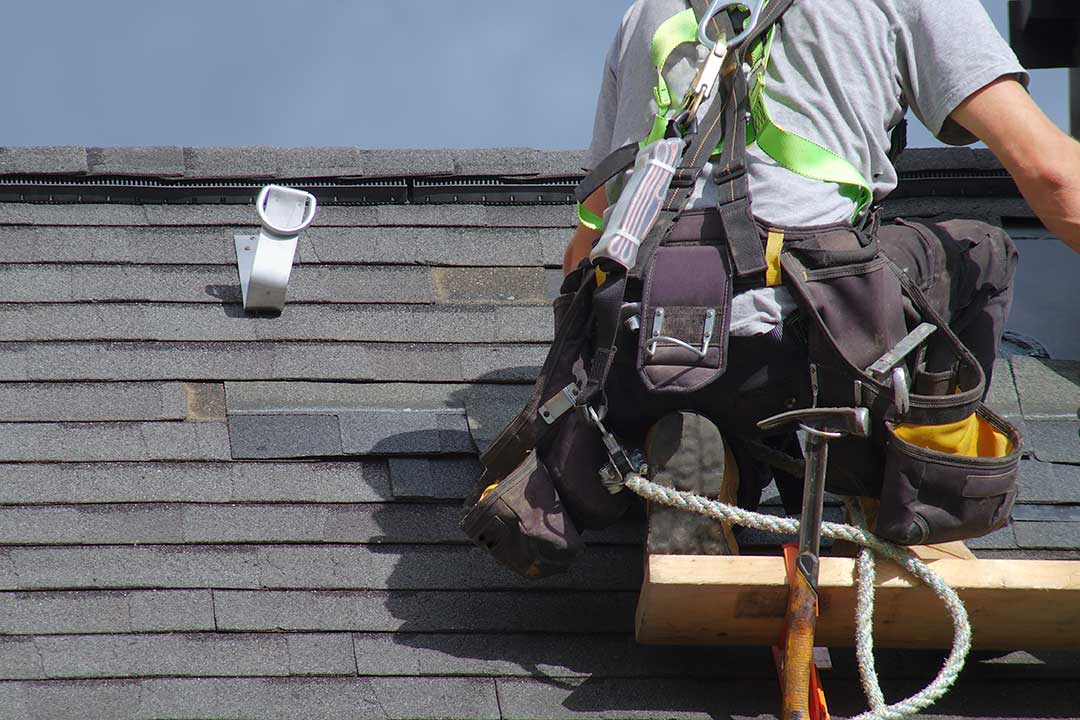
The exact arrangement depends on the roof design, materials, and applicable code requirements. In snowy climates, water-resistant protection near eaves is particularly relevant because ice dams can force meltwater beneath the roof covering.
Roof ventilation must be balanced. More vents do not automatically solve moisture problems. Air needs a functional intake-and-exhaust path, and attic insulation should not block intended airflow.
How are shingles or other roof coverings installed?
Installation usually proceeds from the lower roof edge upward. Courses are placed in overlapping patterns so water flows over one layer and onto the next rather than beneath it.
Important details include:
- Straight and properly aligned starter courses
- Correct fastening locations and nail depth
- Proper overlap between courses
- Sealed areas around penetrations
- Carefully installed valley details
- Secure ridge caps and edge materials
- Compatibility between flashing and the roof covering
The roof’s appearance is affected by alignment, but the less visible details are more important to water resistance. A clean-looking roof can still perform poorly if fasteners are misplaced, flashing is omitted, or valleys are not constructed correctly.
Cold temperatures may slow the natural sealing process of some shingle products. Wind, rain, frost, and snow can also interfere with installation, so a completed roof may need time before all components reach their intended level of adhesion.
How are roof penetrations and drainage handled?
Every penetration creates a potential path for water. Vents, plumbing stacks, chimneys, skylights, and other openings need properly integrated flashing rather than relying only on surface sealant.
Sealants can deteriorate over time, especially where materials expand and contract. They are useful as part of a correctly designed detail but should not replace sound flashing.
Gutters and downspouts are part of the broader roof drainage system. After roofing work, they should be checked for shingle fragments, fasteners, granules, or debris that could restrict flow. Water should discharge far enough away from the foundation to avoid creating new moisture problems.
What should homeowners check after the work?
A final review should cover both the roof and the surrounding property. Useful items to verify include:
- No loose materials remain on the roof or ground
- Gutters and downspouts are clear
- Flashing is present around visible penetrations
- Roof edges appear straight and secure
- Attic areas show no new moisture or daylight where it should not be visible
- Debris has been removed from walkways and landscaping
- Any replaced decking or special repairs are documented
- Waste materials and leftover supplies are handled as agreed
A few loose granules in gutters after installation can be normal, but large amounts of debris, exposed fasteners, lifted shingles, or visible gaps deserve prompt attention.
The completed roof should also be monitored through the first heavy rain, strong wind, and winter weather. Interior stains, damp insulation, musty odors, or new drafts near the attic can indicate that further investigation is needed. Roofing is not finished merely because the surface looks new; proper drainage, ventilation, flashing, and deck condition all contribute to long-term performance.